Quick Start: Your First Product Edit (Magento)
Welcome! In this quick start tutorial, you'll learn the basics of cobby for Magento by completing your first product edit in just 10-15 minutes. By the end, you'll understand how to load products, make changes, and save them back to your Magento shop.
This is a quick start for immediate results. For a comprehensive understanding of cobby's Portal and Excel interfaces, continue with our Onboarding: Introduction to cobby tutorial after completing this quick start.
See the Quick Start: Your First Product Edit (Shopware) tutorial for Shopware-specific instructions.
What You'll Learn
In this tutorial, we will:
- Load products from your shop into cobby
- Edit a product name
- Understand product status indicators
- View your changes
- Save changes back to your shop
- Explore the most important columns in cobby
Time to complete: About 10-15 minutes
Prerequisites: You should have cobby installed and connected to your shop.
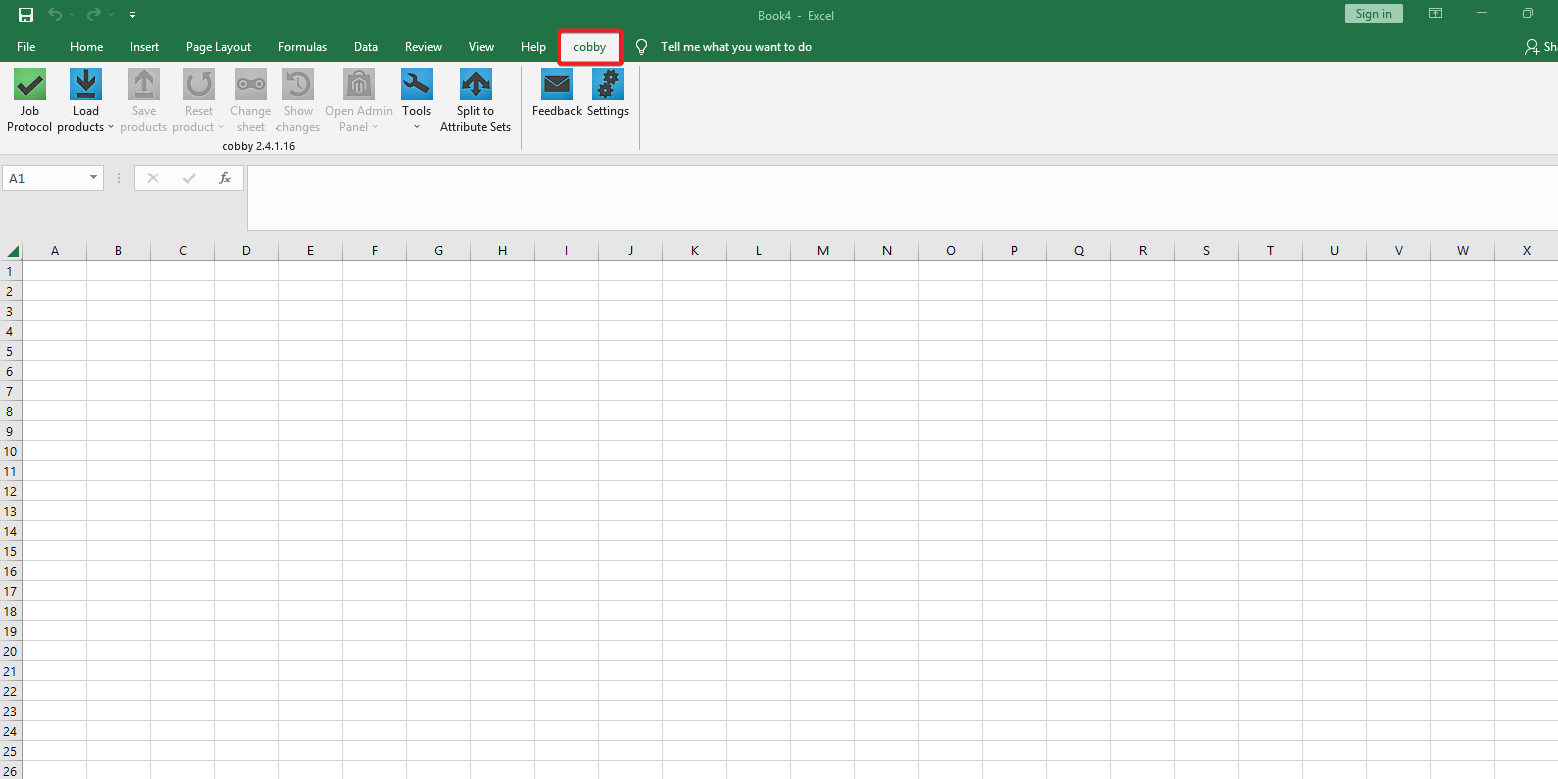
Step 1: Switch to the cobby Menu
First, let's find cobby in Excel:
- Open Microsoft Excel
- Look at the menu bar at the top
- Click on the "cobby" tab (next to "Home", "Insert", etc.)
What you'll see: The cobby ribbon with several buttons and options will appear.
If you don't see the cobby tab, cobby might not be installed correctly. Check our troubleshooting guide.
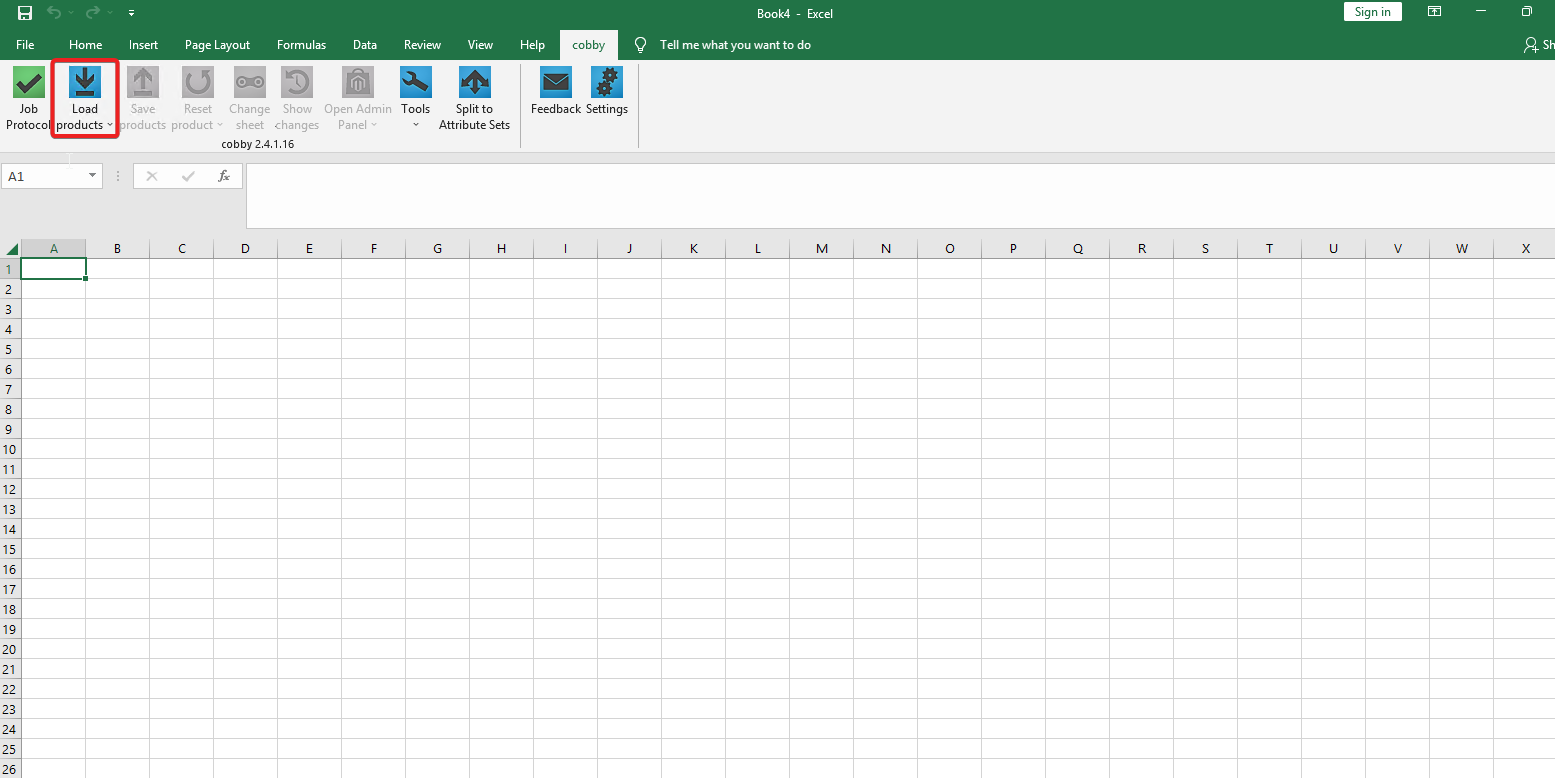
Step 2: Load Your Products

Now we'll bring your shop's products into Excel:
- Look at the top-left corner of the cobby ribbon
- Click the blue "Load products" button
- Wait a few seconds while cobby fetches your products
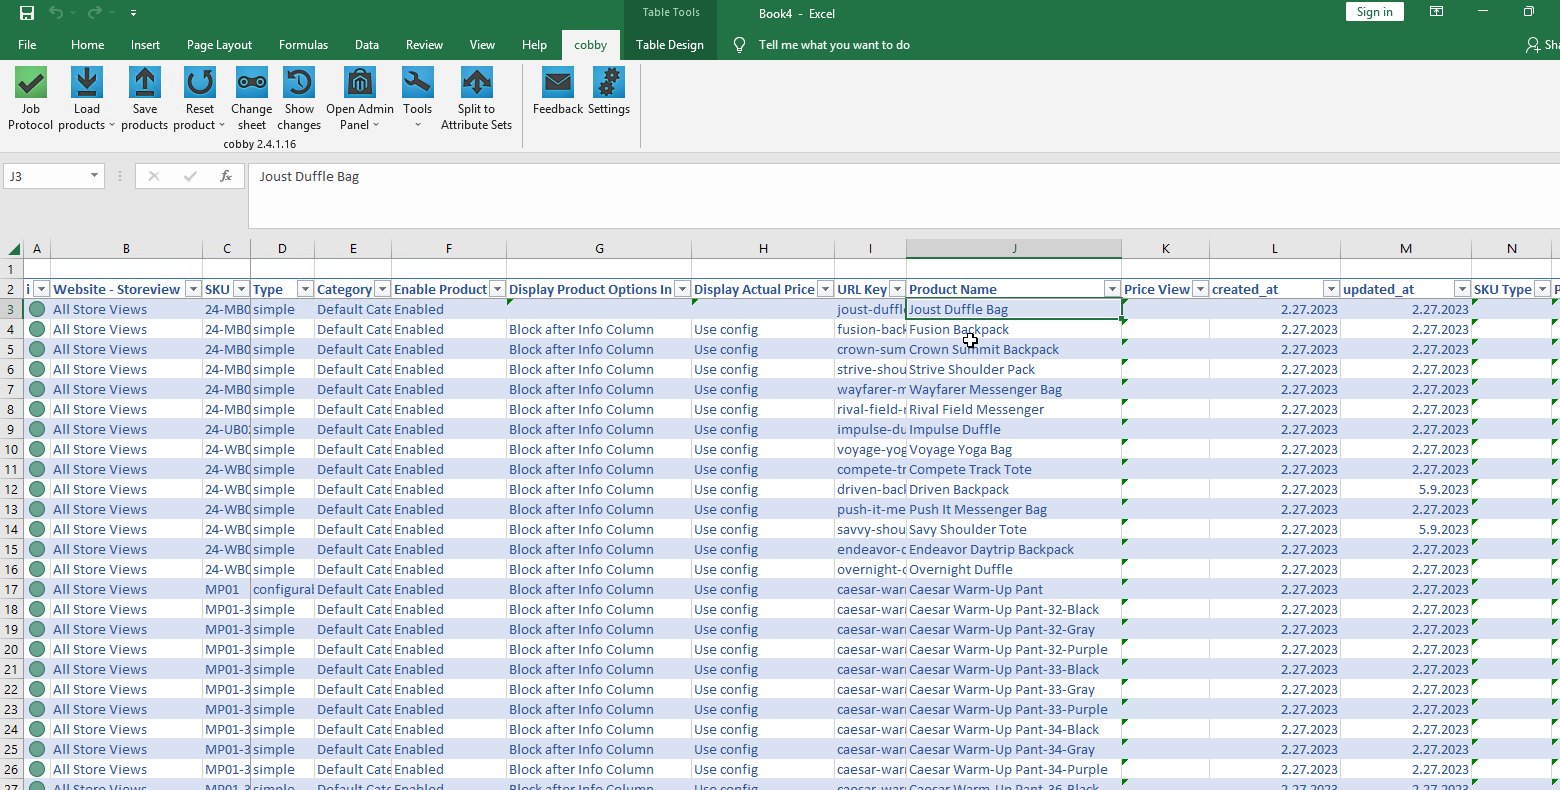
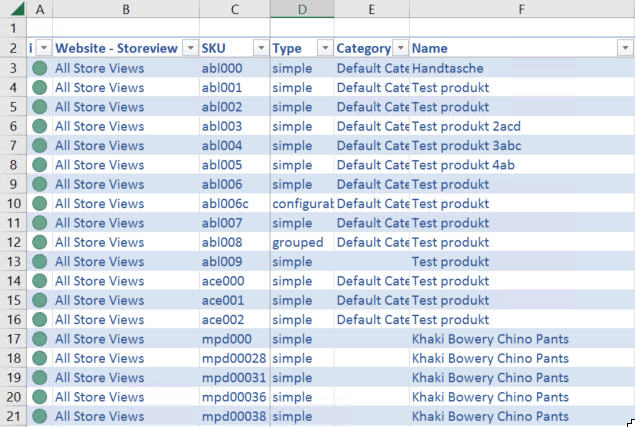
What you'll see: After a few moments, your Excel sheet will fill with rows - one for each product. Each column represents a product attribute (name, SKU, price, etc.).
What just happened? cobby connected to your Magento/Shopware shop and downloaded all product information into Excel. You're now looking at live data from your shop!
Depending on your product catalog size, this may take longer. Large catalogs with thousands of products might take a minute or two.
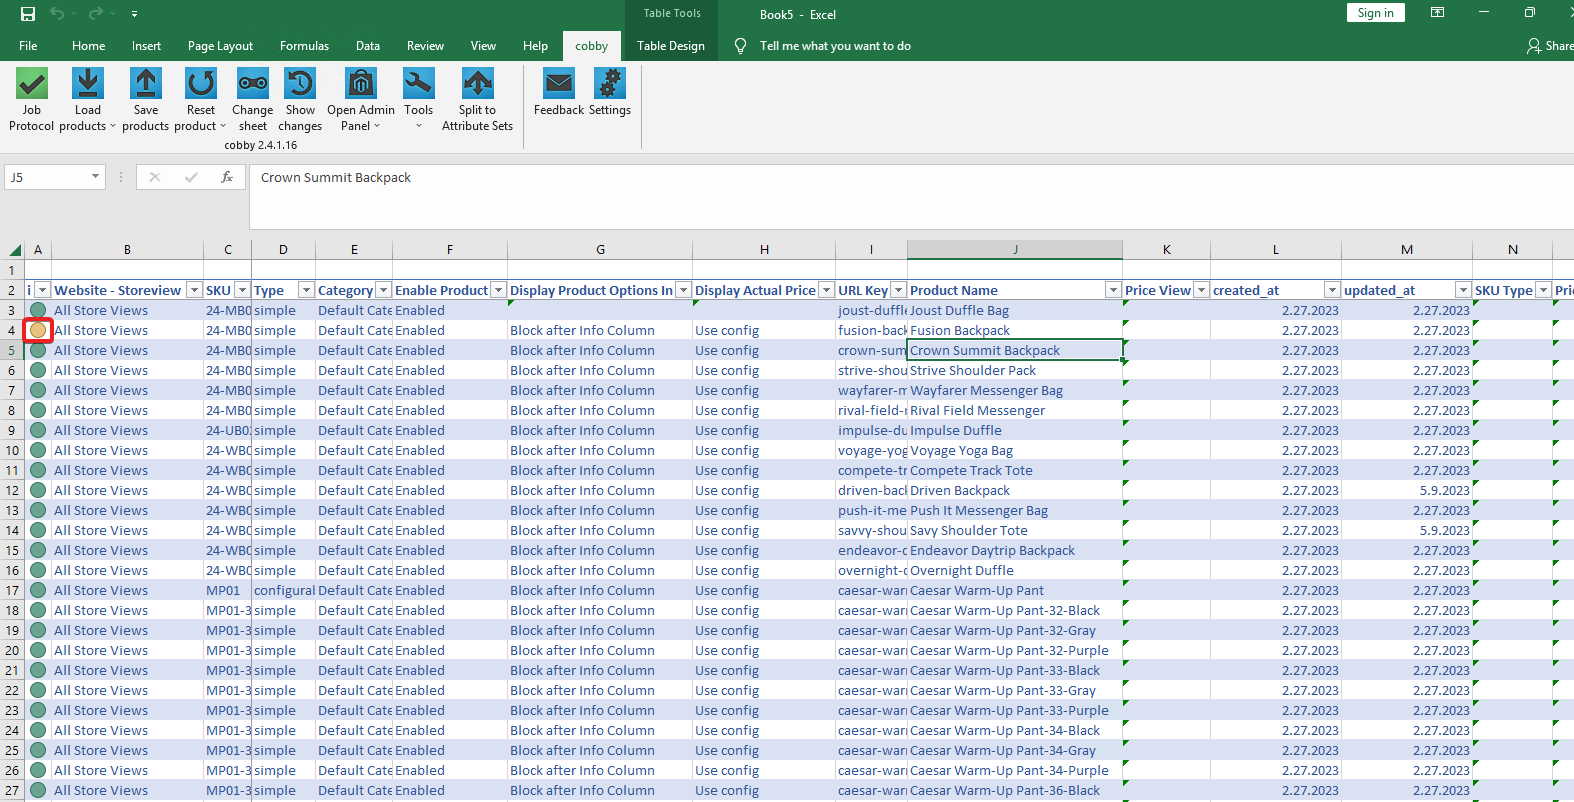
Step 3: Edit a Product Name
Let's make our first change! We'll rename a product:
- Find the "SKU" column (usually column B or C)
- Use Ctrl+F to search for SKU:
24-MB01 - Once you've found the row, scroll right to the "Name" column
- Double-click in the Name cell for that product
- Add
_cobbyat the end of the product name - Press Enter to confirm your change
What you'll see: As soon as you press Enter, the very first column (Product Status) will change color!
Step 4: Understand Product Status
The Product Status column (the first column) uses colors to show you what's happening:
- 🟢 Green Status: The product data in Excel and your shop are synchronized - everything matches!
- 🟡 Yellow Status: You've made changes in Excel that haven't been saved to your shop yet. This is what you should see now after editing the product name!
- 🔴 Red Status: The product data in Excel is different from the shop, and there might be a conflict.
Your current status: After editing the product name, you should see a yellow status for that product. This is normal - it means you have unsaved changes.
Want more details about statuses? Check the Job History reference.
Step 5: View Your Changes

Before saving, let's review what we changed:
- With your edited product selected (click anywhere in that row)
- Click the "Show changes" button in the cobby ribbon
- A task pane will open on the right side of Excel
What you'll see: The History Task Pane shows:
- Which attributes you edited (in this case: "Name")
- The original value in Magento
- The new value in Excel
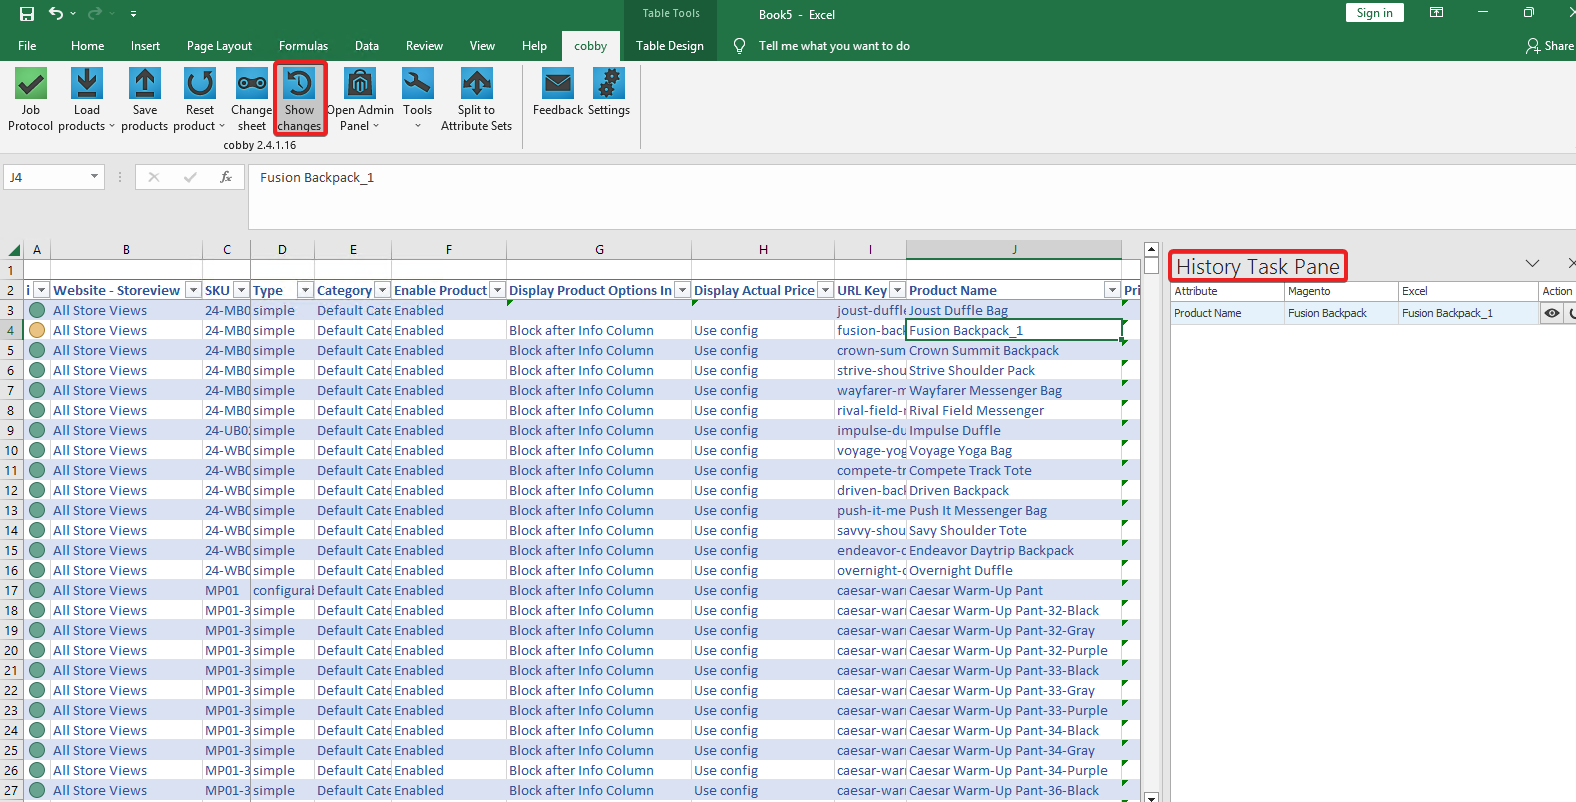
This is your safety check - you can confirm your changes before they go live!
Step 6: Save Changes to Your Shop

Time to make your changes live:
- Click the "Save products" button in the cobby ribbon
- Wait while cobby uploads your changes
- Watch the Product Status change from yellow to green
What you'll see:
- A progress indicator while saving
- The Product Status for your edited product turns green
- The change is now live in your online shop!
What just happened? cobby sent your product name change to Magento/Shopware. The new name is now visible in your shop's admin panel and storefront (after cache refresh).
Congratulations! You've just completed your first product edit with cobby. The entire load → edit → save workflow is the foundation of all cobby work.
Understanding cobby Columns
Now that you've completed your first edit, let's explore the most important columns you'll work with:
🖼️ Images
Shows currently stored product images. You can upload new images, delete images, and set which image is the preview image.
💰 Price
Displays the product price. The next column shows tier prices for customer groups.
📁 Category
Shows which categories the product belongs to. Click the cell to change category assignments.
🎨 Attribute Options
Many attributes have dropdown options (like "color" or "size"). You can create new options directly in cobby - much faster than in Magento!
📝 Description
Contains the product description. Use the integrated HTML editor to edit rich text without breaking the code.
🎯 Presets
The columns you see depend on your current preset. Presets let you create custom views showing only the attributes you need.
What You've Accomplished
In this tutorial, you've learned:
- How to access cobby in Excel
- How to load products from your shop
- How to edit product data
- What product status colors mean
- How to review your changes
- How to save changes back to your shop
- What the main cobby columns represent
Next Steps
Now that you understand the basics, you can:
Continue Your Learning Journey
- Onboarding: Introduction to cobby - Get the complete picture with our comprehensive onboarding that covers both the cobby Portal and Excel in depth (20-25 minutes)
Explore More Features
- Working with categories - Organize products into categories
- Managing images - Upload and arrange product images
- Update prices in bulk - Change multiple product prices
If you encounter any issues, contact our support team.