How to Sort and Transform Supplier Data with Power Query
Learn how to use Excel's Power Query to automatically sort and reformat supplier lists so columns match your cobby setup. This enables quick copy-and-paste imports without manual column rearrangement.
Goal
Create a reusable Power Query transformation that automatically reformats supplier price lists to match your cobby column order, making imports faster and less error-prone.
Prerequisites
- Excel with Power Query (Excel 2016 or later, or Excel 365)
- Supplier price list file
- Knowledge of your cobby column order
What is Power Query?
Power Query is Excel's built-in data transformation tool that allows you to:
- Connect to external data sources
- Reorder, rename, and filter columns
- Apply transformations that refresh automatically when source data changes
- Save time on repetitive data preparation tasks
Steps
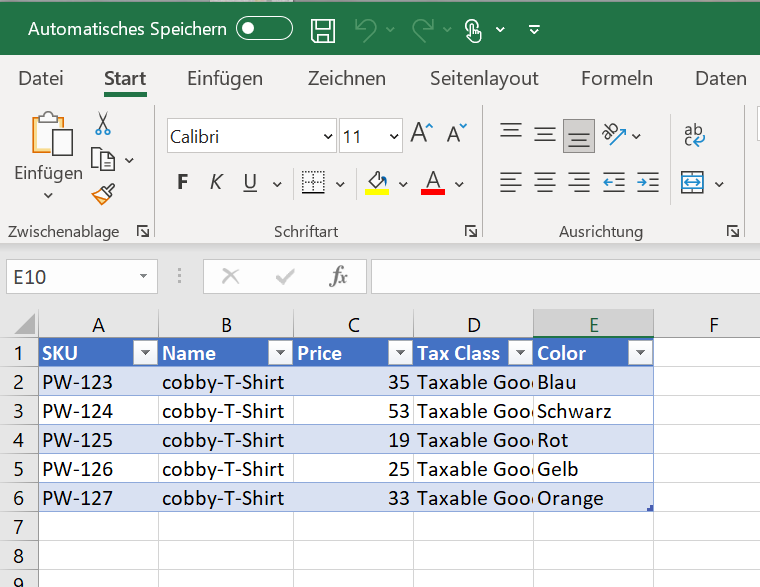
Step 1: Get Your Supplier List
Locate the supplier price list file you want to import into cobby.
Step 2: Create and Name a New Excel File
- Open a new Excel workbook
- Save it with a descriptive name (e.g., PQ_price_import.xlsx)
This file will contain your Power Query connection and serve as your import preparation workspace.
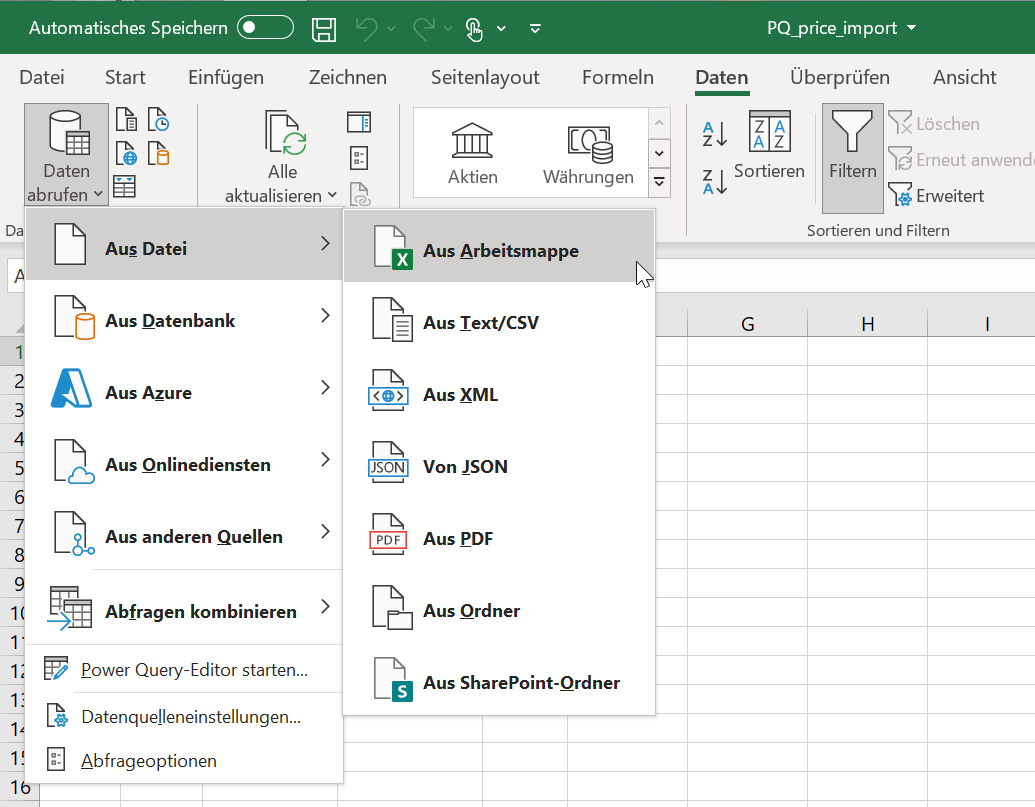
Step 3: Connect to the Supplier List
- In your new Excel file, go to the Data tab
- Click Get Data → From File → From Workbook
- Browse and select your supplier list file
Step 4: Transform the Data
After selecting the supplier list, the Navigator window opens:
- Click on the table name in the Navigator
- Click Transform Data (not "Load")
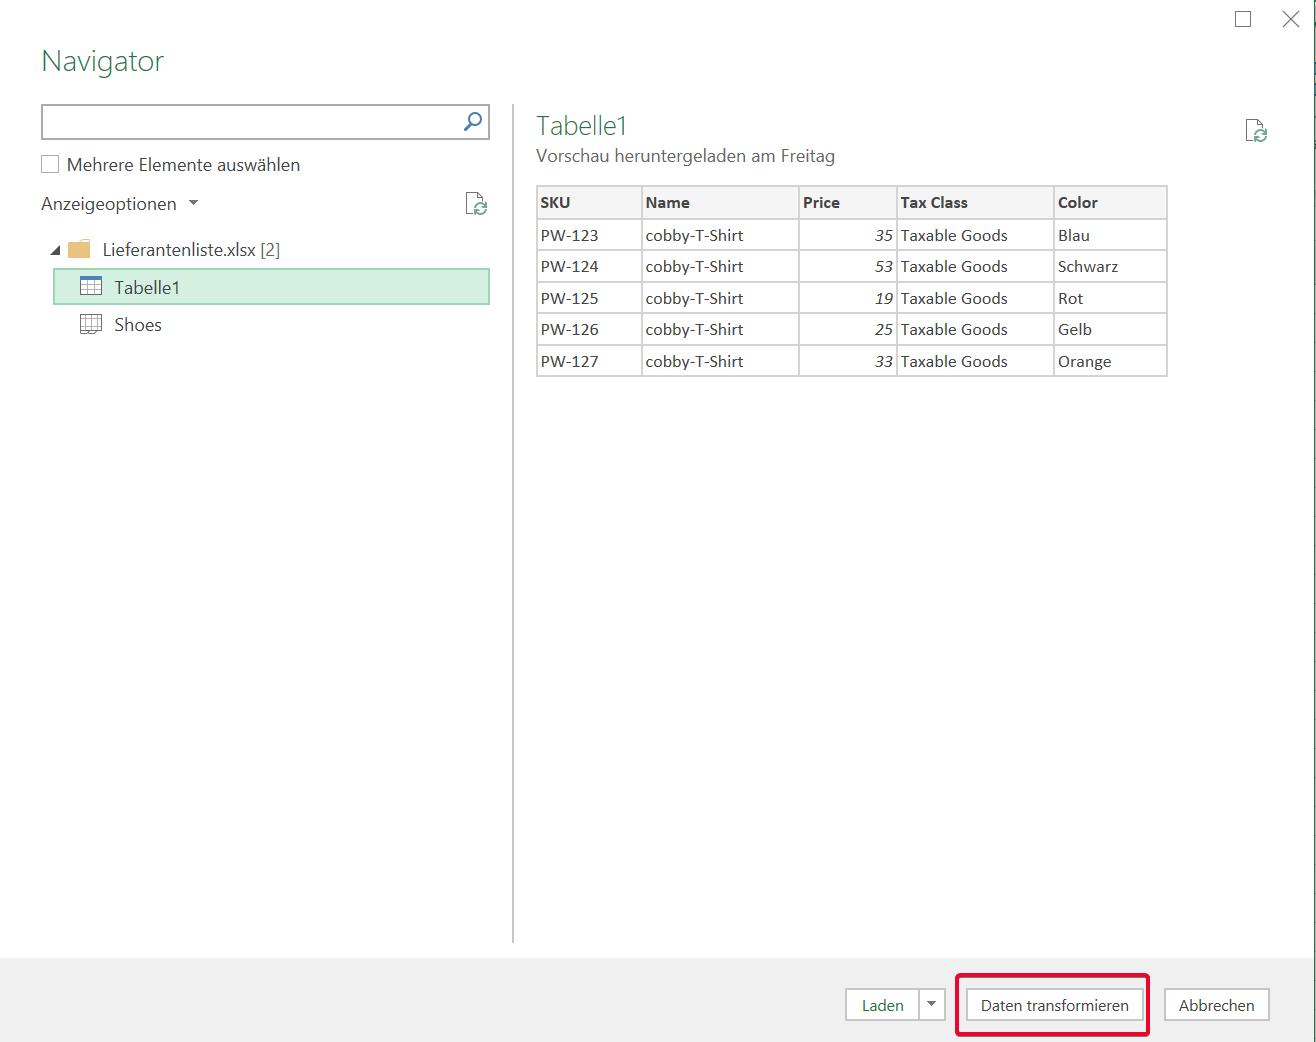
This opens the Power Query Editor where you'll configure the transformations.
Step 5: Sort and Reorder Columns
In the Power Query Editor:
-
Reorder columns to match your cobby layout:
- Drag column headers to rearrange them
- Place columns in the exact order they appear in cobby
-
Remove unnecessary columns:
- Right-click column headers you don't need
- Select "Remove"
-
Rename columns if needed:
- Double-click column header
- Type the exact name used in cobby
Important: Column names and order must exactly match your cobby setup for copy-and-paste to work correctly.
- When finished, click Close & Load
The transformed data appears as a table in your Excel workbook.
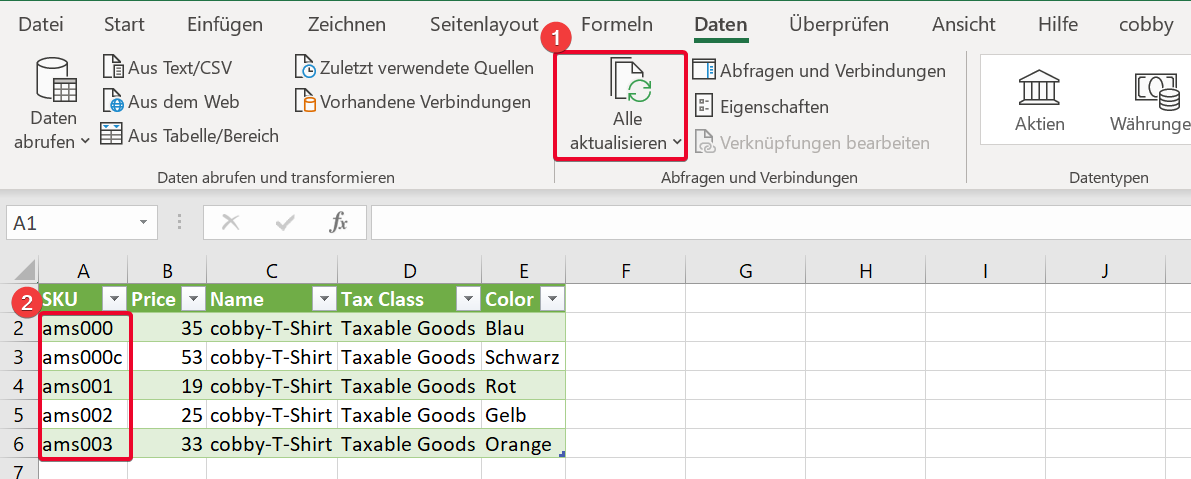
Step 6: Refresh When Supplier Updates Data
When your supplier provides an updated price list:
- Replace the old supplier file with the new one (keep the same filename and location)
- Open your PQ_price_import.xlsx file
- Go to Data tab → Refresh All
The Power Query automatically applies all your transformations to the new data. In the screenshot example, you can see the SKU has changed automatically.
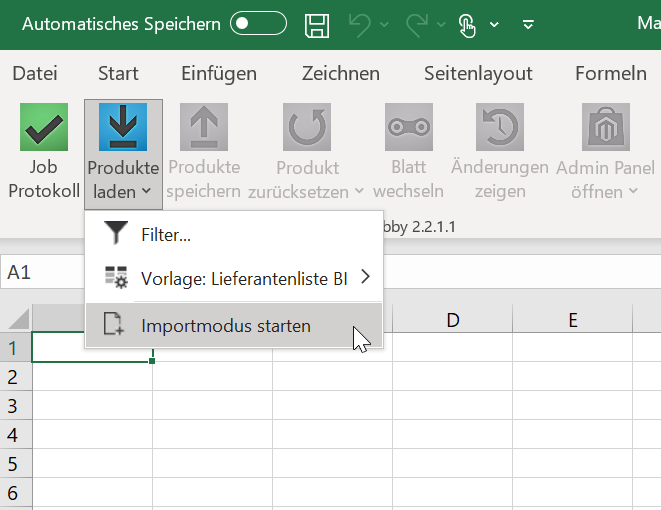
Step 7: Start Import Mode in cobby
Now you're ready to import into cobby:
- Open Excel with cobby add-in
- Go to cobby → Load products
- Select Start import mode
Important: When creating new products, all mandatory fields (Website, SKU, plus any required attributes) must be filled in and visible.

Step 8: Transfer Values to cobby
- In your PQ_price_import.xlsx file, select and copy the transformed data
- Switch to your cobby workbook
- Paste the values into the appropriate location
Important: Do NOT copy the "All Storeview" header row. This must be entered manually in cobby.
Step 9: Save and Verify
- Click Save products in cobby
- Wait for the job log to show a green checkmark
- A green checkmark indicates successful import
Advanced Power Query Transformations
Once you're comfortable with basic column reordering, try these advanced transformations:
Filter Rows
Remove products that shouldn't be imported:
- Click column header drop-down
- Uncheck values to exclude
Replace Values
Standardize data (e.g., replace "Y" with "Yes"):
- Right-click column → Replace Values
- Enter old value and new value
Split Columns
Split combined data into separate columns:
- Right-click column → Split Column → By Delimiter
Merge Columns
Combine data from multiple columns:
- Select columns → Right-click → Merge Columns
Add Calculated Columns
Create new columns with formulas:
- Add Column tab → Custom Column
- Write formula using Power Query M language
Handle Different File Formats
Power Query can connect to:
- CSV files
- Text files
- Excel files from different locations
- Online data sources
- Databases
Example Use Case
Scenario: Your supplier sends weekly price updates with columns in this order:
- Product Code, Description, Price, Stock, EAN
Your cobby needs:
- SKU, Price, Quantity, EAN, Name
Power Query Solution:
- Rename "Product Code" → "SKU"
- Rename "Description" → "Name"
- Rename "Stock" → "Quantity"
- Reorder to: SKU, Price, Quantity, EAN, Name
- Save and refresh weekly with one click
Troubleshooting
Navigator doesn't show table
Make sure your supplier file has data formatted as an Excel table or named range.
Columns not reordering
Drag from the column header area, not the cells.
Refresh doesn't update data
Verify the supplier file is in the same location with the same name. If the path changed, edit the query: Data → Queries & Connections → Right-click query → Edit.
Copy-paste to cobby fails
Double-check that column order and names exactly match cobby's expected layout.
"All Storeview" row disappears
This is normal - you must manually add this row in cobby. Don't copy it from your Power Query file.
Query takes too long to refresh
Large files may take time. Consider filtering unnecessary rows in Power Query to reduce data size.
Error messages in Power Query Editor
Check that:
- Source file is not open in another program
- Source file is not corrupted
- Column data types are appropriate (text, number, date, etc.)
Best Practices
- Keep source file location consistent - Don't move or rename your supplier files, or update the connection if you do
- Test with sample data first - Verify your transformations work correctly before processing full datasets
- Document your transformations - Add comments in Power Query to explain what each step does
- Create separate queries for different suppliers - If you work with multiple suppliers, create a dedicated Power Query file for each
- Backup your PQ files - These files save you time; keep backups of your configured queries
- Use descriptive names - Name queries and columns clearly so future you (or colleagues) understand the setup
Benefits of Using Power Query
- Save time: What used to take 30 minutes of manual column sorting now takes seconds
- Reduce errors: Automated transformations eliminate manual copy-paste mistakes
- Stay flexible: Easy to adjust if supplier changes their format
- Reusable: Set up once, use repeatedly
- Scalable: Works with small lists and large datasets equally well
Next Steps
- Set up Power Query transformations for all your regular suppliers
- Explore advanced Power Query features like merging data from multiple sources
- Create automated workflows that combine Power Query with cobby imports
- Share your PQ template files with team members for consistent data processing