Import data
These instructions help you learn how to perform the next data import with an existing Excel folder.
Step 1: Open cobby
Open cobby with your live licence.
Step 2: Load products
Load all products by using the following template: Reduced → Filter → Remove the tick from "only active products" → Load
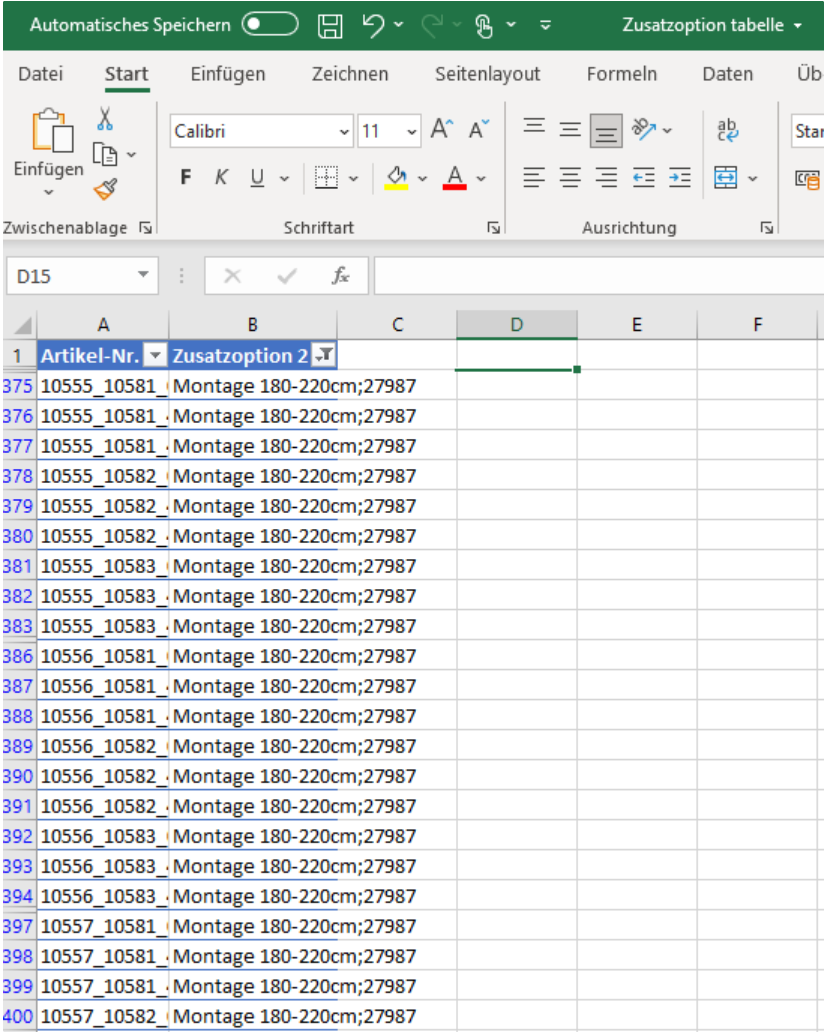
Step 3: Open Excel sheet
Now open another Excel sheet to store and save the desired fields for the import.
Example:
Step 4: Save and close the table
After the table has been saved, the table is first closed.
Step 5: Change of licence
Now it is necessary to change the licence. Select the licence for which a data import should take place.
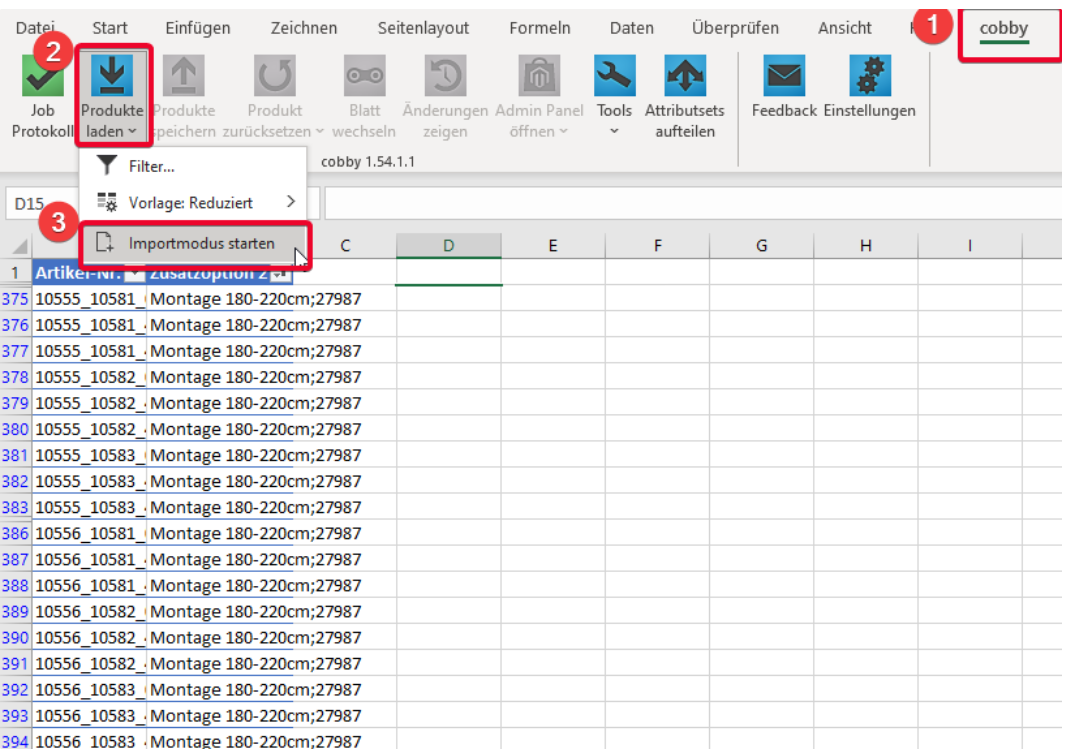
Step 6: Start import mode
As soon as the licence change has been carried out, the previously saved table must be opened. Then proceed as follows: cobby → Load Products → Drop Down → Start Import Mode.
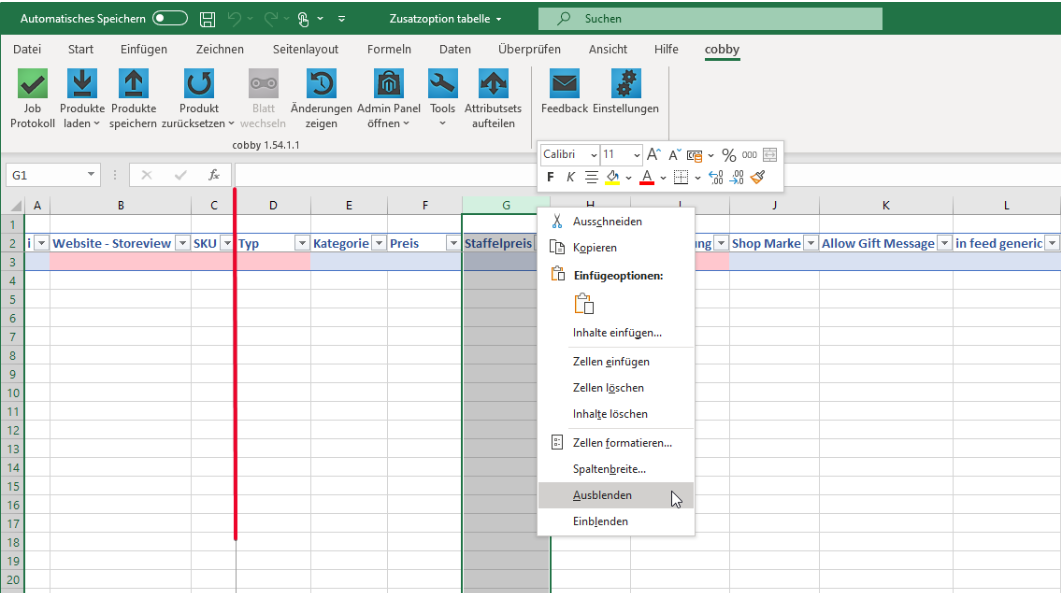
Step 7: Hide columns
After the import mode has been selected, you will get a new sheet (see screenshot). In this sheet, you can hide all columns that are not needed, so that only the required columns are displayed.
Step 8: Copy values
Now change to the sheet "Table 1" and copy each value individually and paste it into the import sheet.
It is important to mention that you have to enter the field "Website Storeview" manually and do not copy the value into it. It will not be taken over when saving.
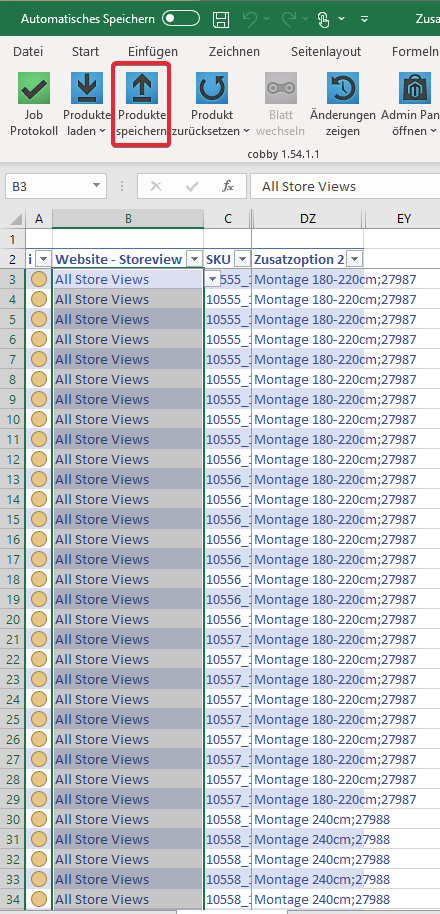
Step 9: Save products
Now click on "Save products". As soon as the job log is green, the import has been carried out successfully.
The status bar (far left) remains yellow in this case.
Step 10: Hide error message
If you receive an error message, click in the affected attribute and hide it as follows:
Attribute column "xx"→ right click → Hide.
Then click on Save products again.