How to Manage Multiple Workspaces
Connect multiple cobby workspaces to the same Excel installation and switch between them.
Prerequisites
- Multiple cobby workspace license keys
- cobby Excel add-in installed
- Both workspaces must use the same cobby version and Excel plugin version
Add a Second Workspace
-
Open an Excel workbook.
-
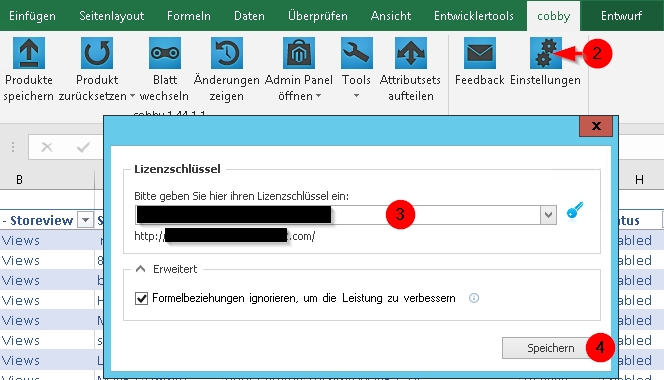
Go to the cobby tab and click Settings.
-
Insert the new license key in the license key field.
-
Click Save.
Result: The second workspace is now connected to your Excel installation.
Switch Between Workspaces
-
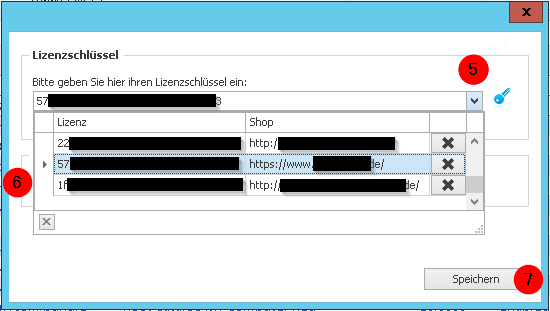
Open the cobby Settings dialog in Excel.
-
Click the drop-down menu next to the license key.
-
Select the workspace you want to switch to.
-
Click Save.
-
Close all Excel instances.
-
Open Excel again.
Result: You are now working with the selected workspace.
Finding Your License Key
-
Log in to the cobby portal at app.cobby.io.
-
Go to Settings → Workspace.

-
Copy the license key shown on the screen.
Common Issues
Switch not working?
- Verify both workspaces use the same cobby version
- Verify both use the same Excel plugin version
- Update both to the latest version if versions differ
Can I use licenses from different accounts?
- No, all licenses must belong to the same cobby account
- Contact support to consolidate licenses under one account